
Short answer: cut square, deburr, run the flare nut on first, then flare in stages with the right die for your fitting standard. Skipping any one of those four steps is where most home-built brake lines go wrong.
Know your flare standard before you start
Not all flares are the same shape, and a die for one standard will not seal correctly against a fitting built for another:
- SAE 45° double flare, the traditional standard on most US-market vehicles. The tube end is folded back on itself twice, which is what makes it a “double” flare, giving a thicker, more durable sealing surface at the cost of an extra step.
- ISO/DIN bubble flare, common on many European and newer vehicles. A single rounded “bubble” shape rather than a folded double flare, and not interchangeable with SAE fittings even though the tube sizes can match.
- AN 37° flare, the racing/performance standard, a single flare at a different angle than SAE, used with AN-style fittings.
Using the wrong flare on the right-size tube is one of the most common causes of a brake line that looks fine and still leaks or fails a bleed, the flare seats against the fitting at the wrong angle or depth even though the threads go together.
Step by step
- Cut the tube square. A tubing cutter, not a hacksaw, an angled cut won’t flare evenly and won’t seal.
- Deburr inside and out. Any burr left on the inside edge will show up as a stress point in the finished flare, and on the outside it’ll keep the flare nut from seating flush.
- Slide the flare nut onto the tube before you flare it. This is the step everyone forgets once, exactly once. Once the flare is formed, the nut can’t get past it.
- Clamp the tube in the die at the correct depth for your tool and flare standard, too much or too little stickout changes the finished flare’s diameter and thickness.
- Form the flare in stages rather than cranking it down in one motion, backing off periodically to check the shape. Rushing this step is the most common cause of a cracked or uneven flare.
Tooling matters more than technique here
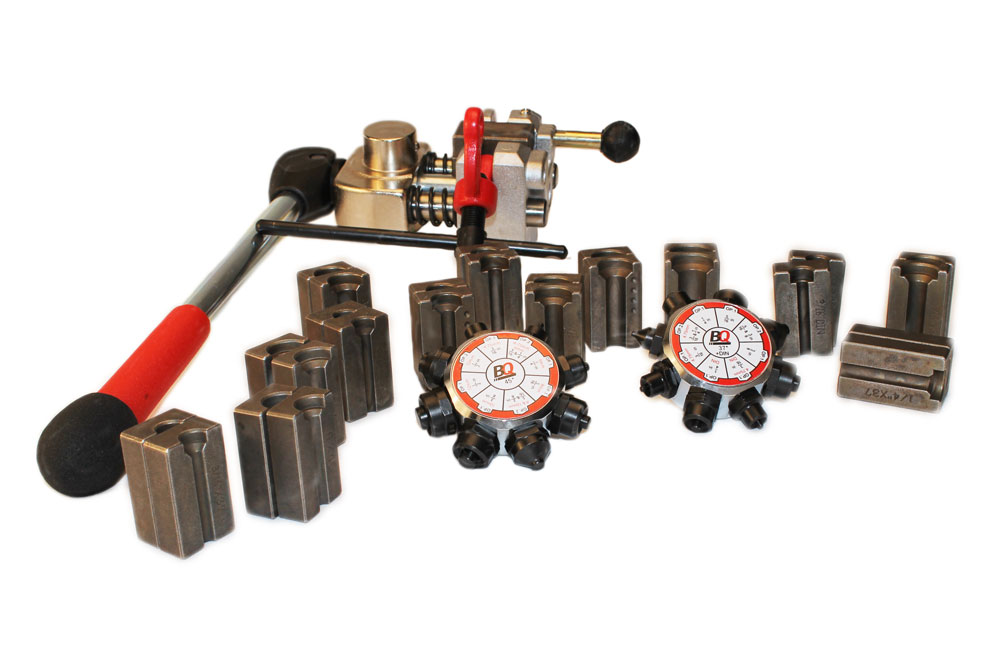
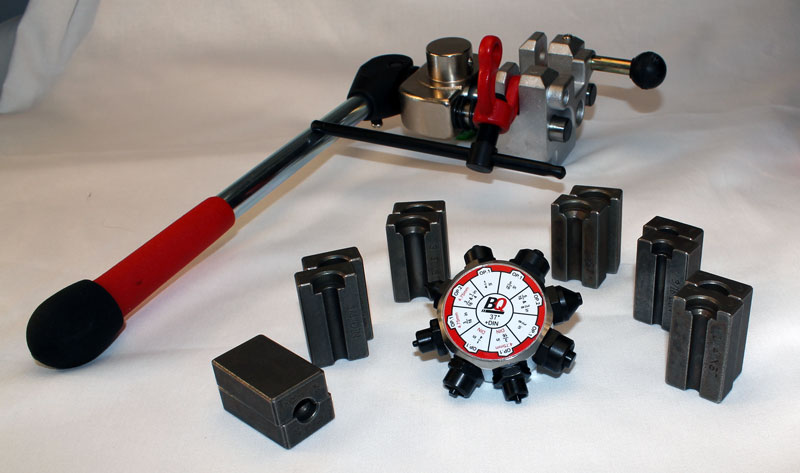
A flaring tool built to hold the tube square and apply even pressure will get a beginner a good flare faster than a cheap tool will get an experienced hand one. BrakeQuip Products carries flaring kits across the standards above, BQ351 covers SAE double flare and works on stainless, BQ352 covers AN and DIN, and BQ350 is the professional kit covering SAE, AN, and DIN in one tool.
One flare, tested before it’s trusted
Whatever tool you use, pressure-test the finished line before it goes back into service, a flare that looks perfect can still leak under the pressure spikes a brake system actually sees, which a visual check alone won’t catch.